Are you facing the dreaded “Deleting…” that never ends when trying to delete a document stuck in the print queue? Do you need to get a document printed right away yet Windows refuses to help? Enter the MBS Print Queue Cleaner. No installation is required. Just download and run it. If you choose run in the download dialog you should be fixed in less than 30 seconds.
Prepare for disaster! Buy a SPARE PRINTER. Inexpensive Insurance. We recommend the HP DeskJet 1010 Printer (CX015A) from Amazon
“It’s a simple and fast download that can clear out those stuck documents in less than 30 seconds.” – Kim Komando
 |
Download from here (32k)
  |
The process of unsticking a stuck document from the print queue is a fairly simple matter consisting of 3 steps, but when a customer is impatiently waiting for his receipt or whatever your immediate stress at the moment your computer is letting you down you might not want to walk through these steps. Another item to consider is you may not remember the steps if this sort of jam in the print queue happens to you rarely.
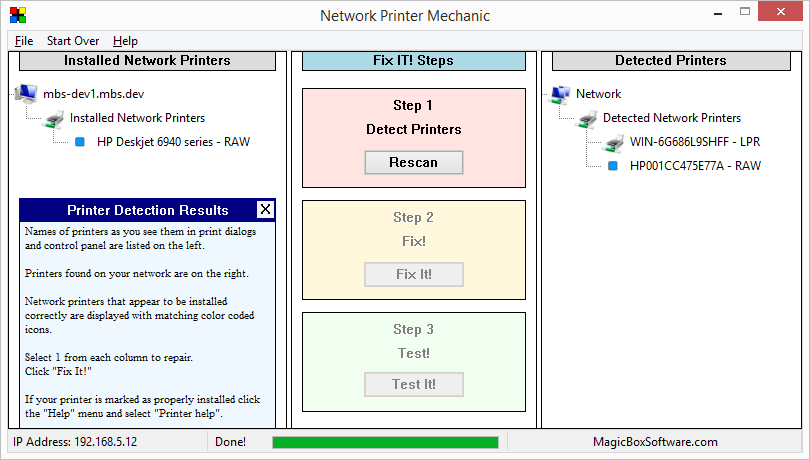
Instead of having to remember the steps or look them up while the pressure is on just open the MBS Print Queue Cleaner and click “Fix It!”
MBS Print Queue Cleaner also doubles as a print function tester. After running the cleaner you can send a test page to a single printer or to every printer attached to your computer.
There are other print queue cleaners available. Most present you with some sort of decision to make in the midst of what can be a real crisis. MBS Print Queue Cleaner takes a different approach. We just clean it out to restore full functionality instantly.
Still want manually clear the print queue? If so, here are the steps:
- Open the “Services” panel. The easiest way to do this is click “Start” and type “Services.msc” (no quotes) in the search box.
- Scroll down the list of services to find and select “Print Spooler”. Click “Stop” in the left panel.
- Open Windows Explorer (“Computer” in the Start menu). Navigate to the spooler directory (typically “C:\Windows\System32\spool\PRINTERS”) .
- Delete the files in the directory.
- Go back to the Services panel and click “Start”.
That’s it.
|
|
|
|
Special thanks to:
Racquel Morris
Freddie Kaydahzinne
John Wheeler
Without whom this project could not have become a reality.
